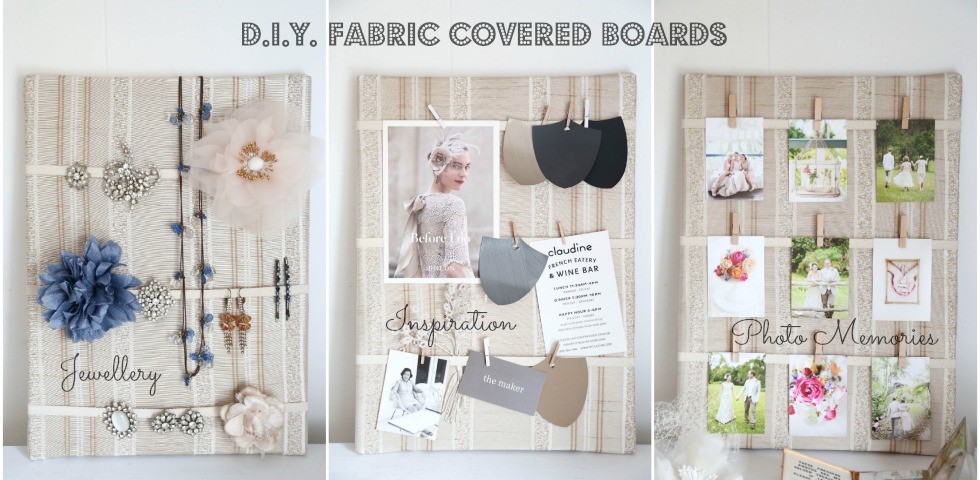
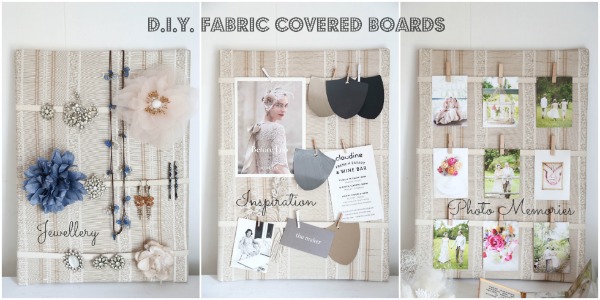
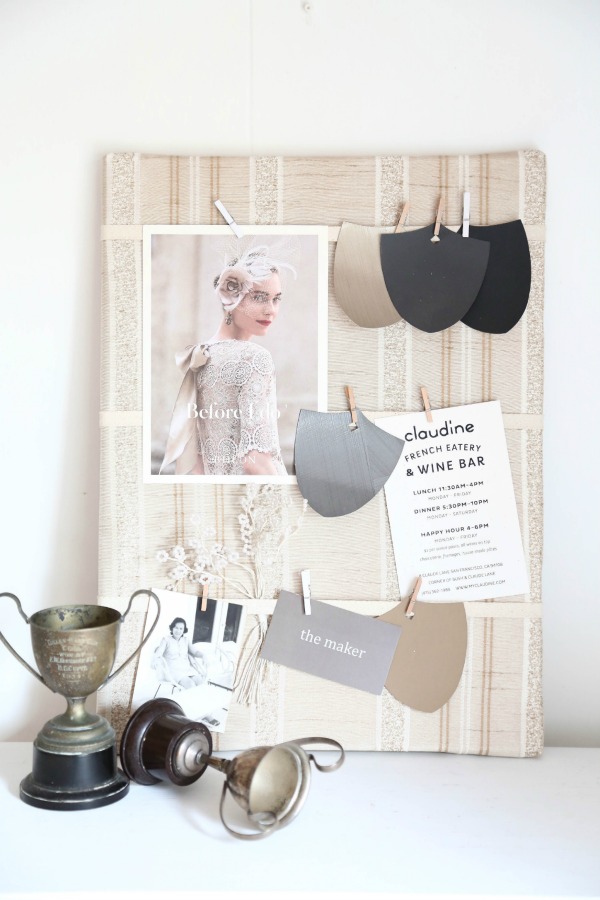
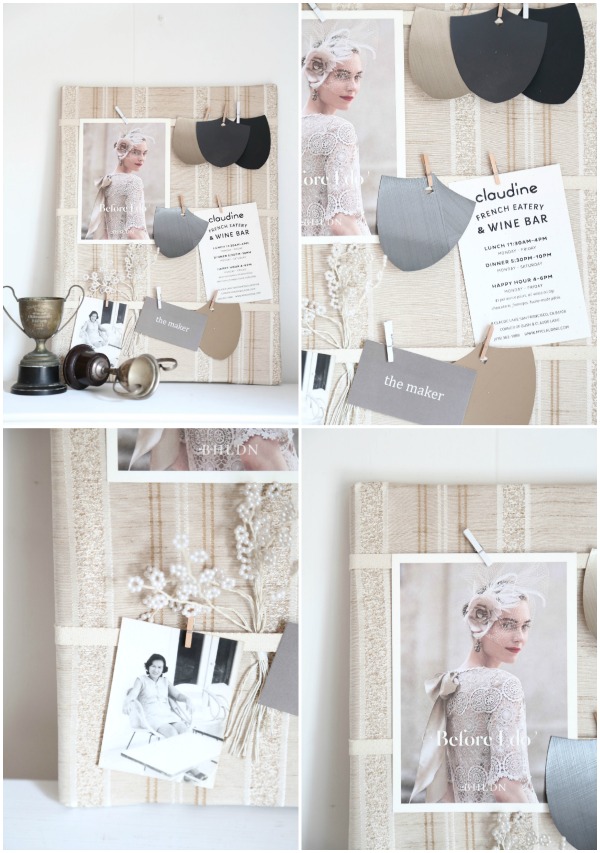
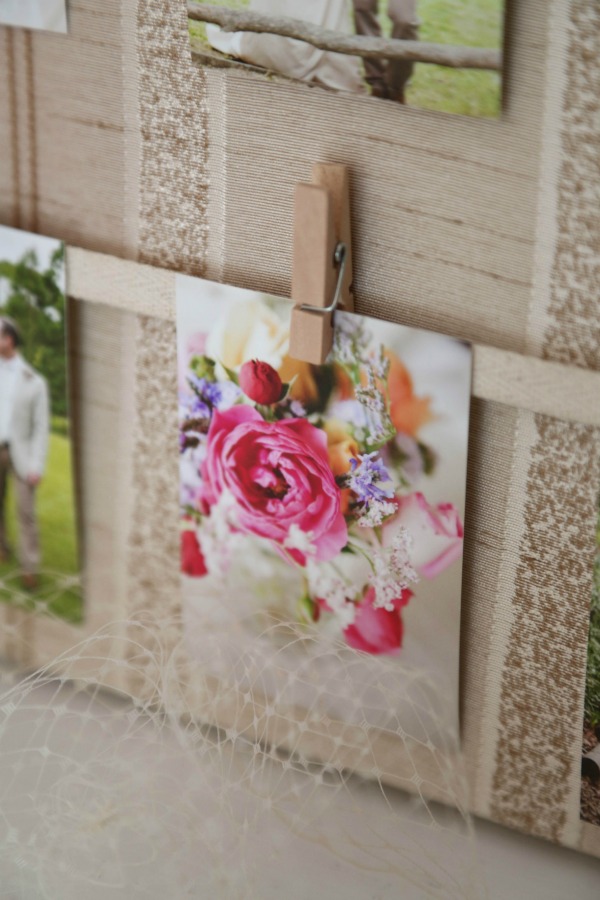
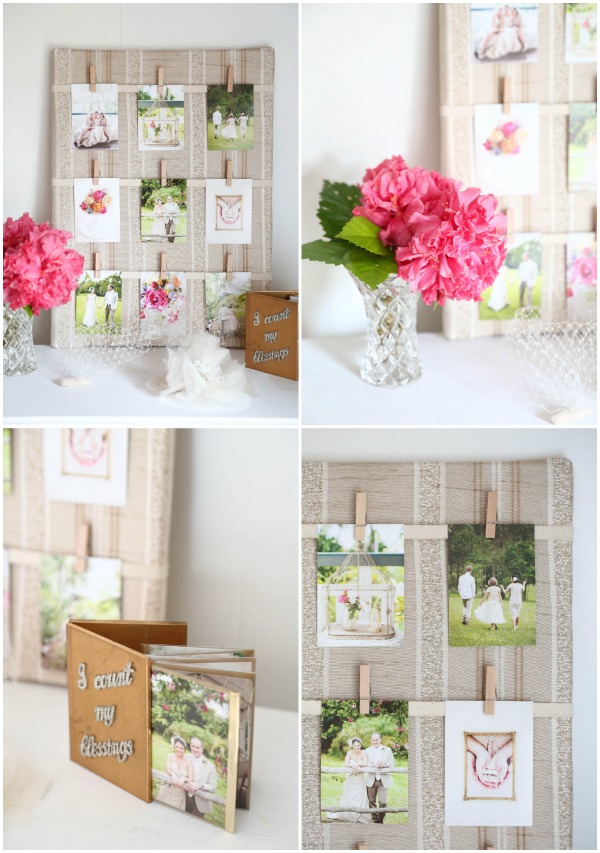
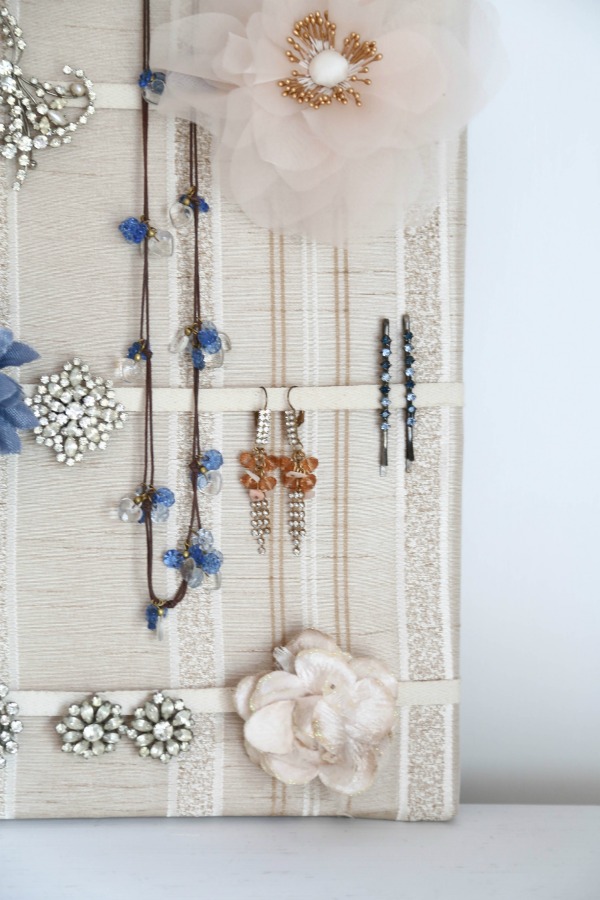
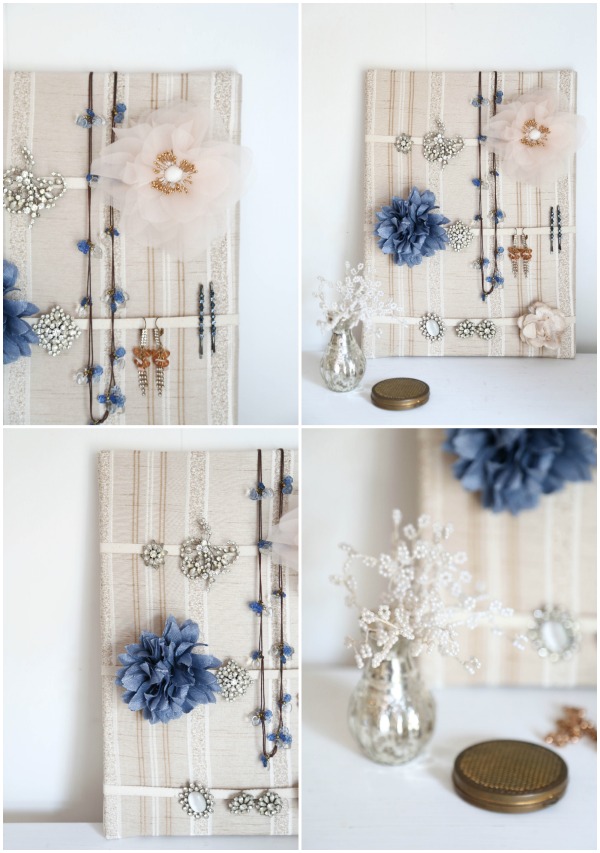
This is my spin on the fabric covered boards that usually have the ribbon in a criss cross pattern. I have made them in all shapes and sizes for weddings, christenings and parties. They make a great escort card or DIY photo booth board to peg your instant polaroid photos. I had so much fun styling and shooting these lovelies. These are way too pretty for take away menus and utility bills!
At home I like to lean them against a wall so I can move them around when I want a quick make over. You can cover them in a neutral tone and then add colour with what you dress it with or add a pop of colour, texture or pattern with unique vintage or lightweight upholstery fabrics.
They are great gifts especially for creatives or to decorate a child’s room. The most recent one I made was for my friend Mercedes. She received a jar filled with personal handwritten notes from her two daughters for Christmas – one for each day of the year. What a lovely and thoughtful gift idea for Mother’s Day to receive a reminder everyday from your children how loved and appreciated you are. Love to see what you come up with on instagram with the hashtag #creatingbeautyeveryday and tag @inallthingsbeautiful.
DIY FABRIC COVERED BOARD
MATERIALS
art canvas, width12″ height 16″ depth 3/4″
cover fabric, medium weight 45cm x 55cm
backing fabric 33cm x 43cm (this can be any medium weight fabric or you could glue felt onto the back with a hot glue gun)
3 x 50cm lengths ribbon or cotton binding, width 10mm
35cm cord, with double knots each end (optional)
staple gun
staples
HOW TO
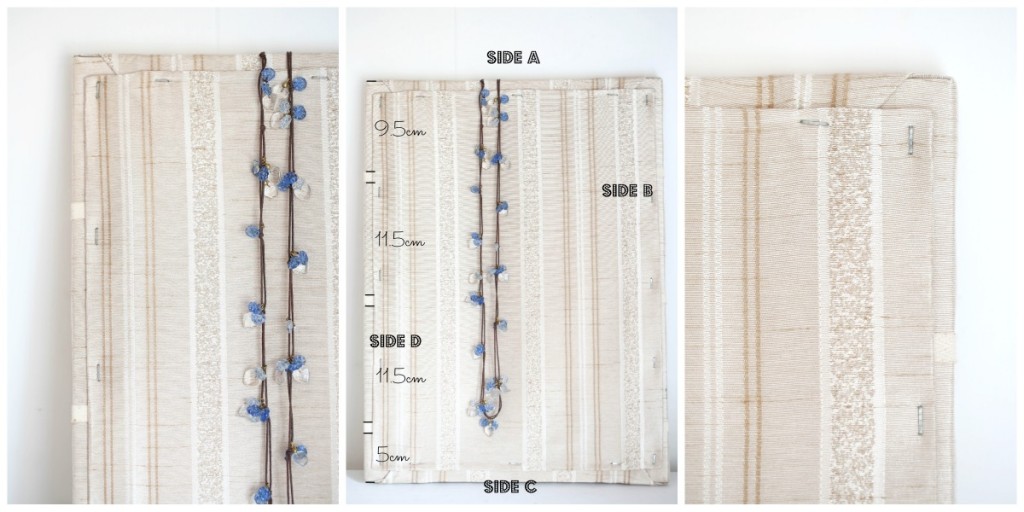
(1) Lay the cover fabric right side facing down on a flat surface and position canvas in the centre of the fabric. Starting from the middle of SIDE A (see the image below) staple the fabric to the wooden frame, then staple another staple each side of the middle staple with a 5cm gap between the staples. Repeat this step on SIDE C – you will need to stretch the fabric so it is taught and has no wrinkles. If you are using a striped or patterned fabric ensure the stripes or pattern in straight. The corners are stapled down after SIDE B and SIDE D have been stapled.
(2) Starting from the middle of SIDE B staple the fabric to the wooden frame, then staple two on each side of the middle staple with a 5cm gap between the staples. Repeat this step D – stretching the fabric and stapling.
(3) For the corners fold the fabric of SIDE B so it is flush with the canvas edge. Fold the fabric on SIDE A as you would wrapping a present and staple the fabric to the wooden frame. Repeat this on the remaining three corners.
(4) Using the measurements in the above image staple each length of ribbon to the wooden frame. Starting from SIDE D and ending at SIDE B. Ensure that the ribbon is straight before you staple to the frame.
(5) Fold a 2cm seam on all four sides of the backing fabric and using an iron press the fabric. Using the same method as above staple SIDE A and SIDE C – this time stapling the corners and allowing a 1cm allowance from the edge of the canvas. Repeat this on SIDE B and SIDE C.
(6) If you would like to hang your finished board mark 15cm from the top (SIDE A) on both SIDE B and SIDE D. Staple the cord to each side – the knots will keep the cord secure.
In all things beautiful,
Lyn xx

