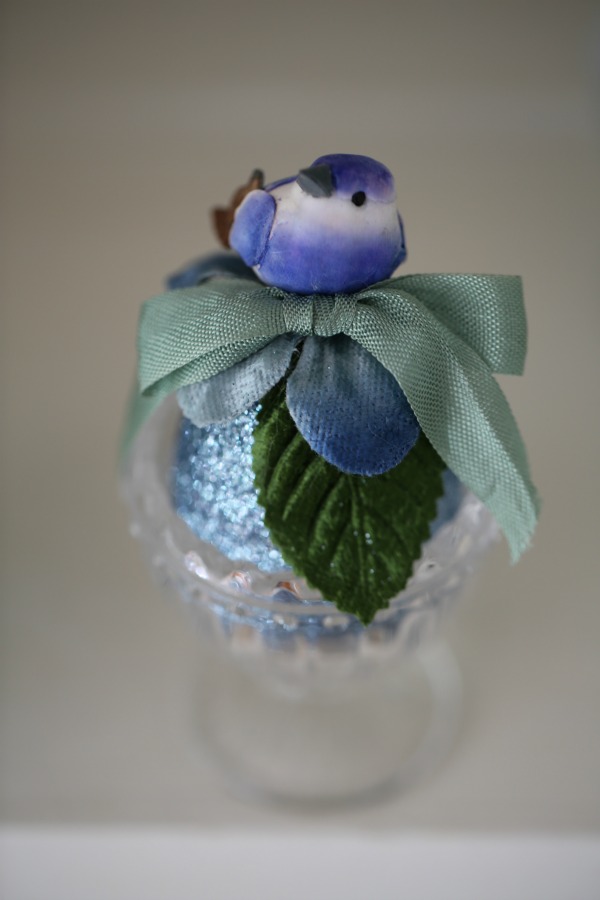
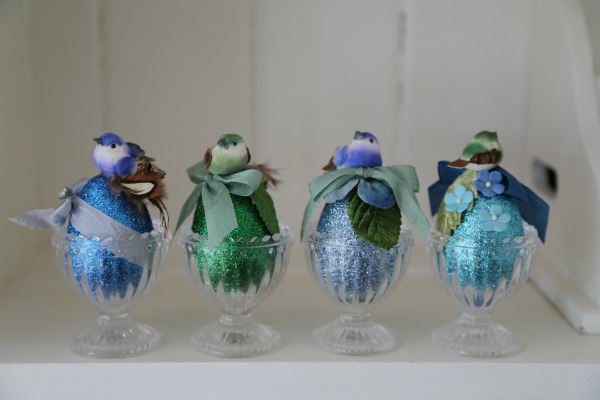
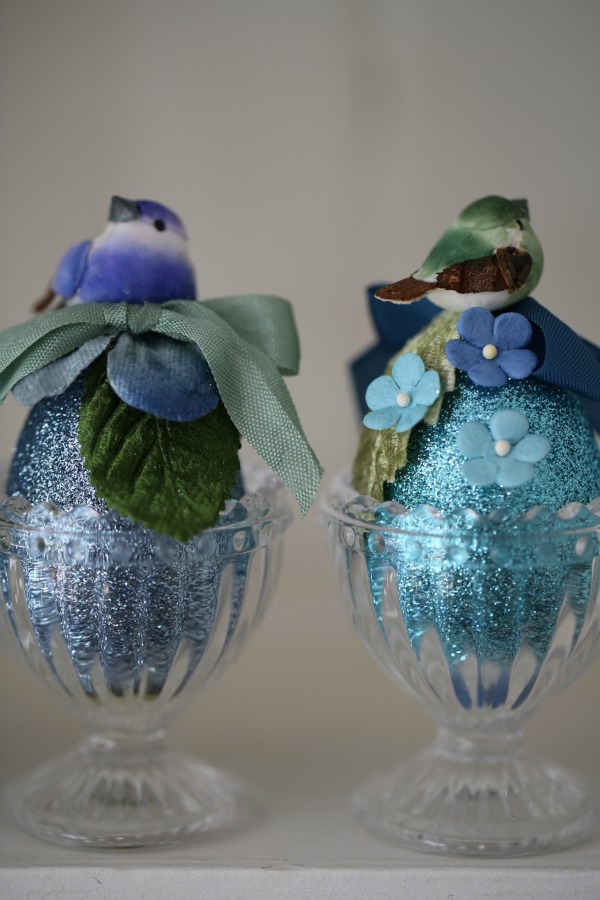
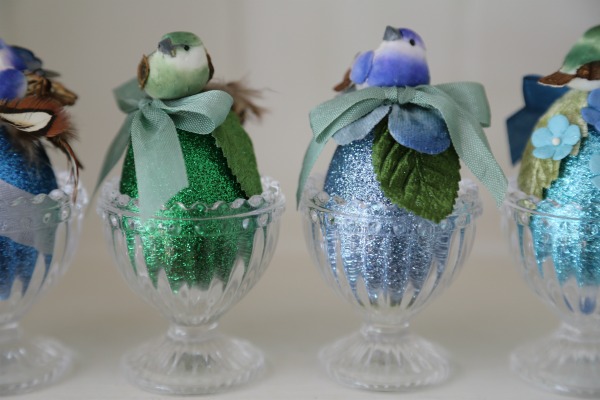
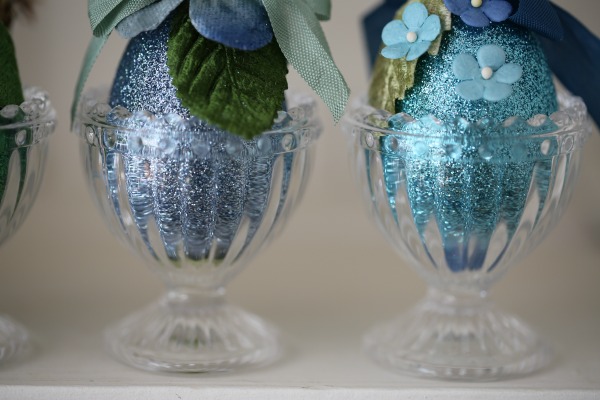
This is a great crafty project to do with the kids however you might have to do the glittering as it can get quite messy! I made these with my stepdaughter last year for our family Easter gifts. They are a sweet little keepsake and in the school holidays we plan to make more to add to our collection. Another idea is to use them as an alternative to the traditional place cards, just add the name of the guest to a little tag and attach with a dab of glue.
The fun part was planning what colour and accessories each egg would be dressed in. I would recommend doing this first because once you have glued your adornments onto the glittered egg they are pretty much there to stay. Get creative and have fun.
EMBELLISHED GLITTER EASTER EGGS
SUPPLIES
plastic craft eggs (the size of a hen egg)
craft glue
paint brush
disposable paper plates
wooden skewers
glitter, assorted colours
assortment of craft accessories, haberdashery and findings; ribbon, feathers, sequins, leaves, flowers, diamantes, birds, butterflies, charms, braid and cord.
HOW TO
Before you start pick your colour palette, we decided on shades of green and blue. Having a palette to reference when gathering accessories made the design process a lot easier and ensured all the details co-ordinated. Now you are ready to dress your egg!
(1) An easy way to glitter your egg is to poke a hole at the tip (head) of the egg with a wooden skewer and push it until it is halfway up the egg. This will make it easier to get full glitter coverage of your egg and allow it to dry evenly.
(2) Brush craft glue onto egg. Generously sprinkle glitter to cover egg. Do this over a disposable paper plate to catch the excess glitter. If there any bits that need a touch up you can do this after the egg has dried. Just apply glue on the area and sprinkle over glitter. Return the excess glitter to it’s container.
(3) The next step is to decorate your eggs. Use the craft glue to attach your accessories.
Many blessings to you and your family this Easter.
In all things beautiful,
Lyn xx

