 I am a romantic. I am one that succumbs to the lure of Valentine’s Day. How can I not love a day that celebrates L O V E ?! There is a big BUT, I don’t think that expressing love has to cost the earth. A lovingly prepared meal, a picnic or handmade card and gift is filled with love and intent. Isn’t the whole idea to celebrate the love you share in the most precious commodity of all – TIME. That said shouldn’t every day be filled with sweet love notes, gifts of affection and expressions of gratitude?. Being thoughtful, kind, encouraging and supportive are all acts of love which mean more than fluffy toys and long stem red roses. I have banned my husband from buying me red roses on V day, any other day yes but paying exorbitant prices for a rose on a particular commercialised day of the year is quite ludicrous.
This year we are going to our favorite local French restaurant which is a real treat as we only go there on special milestones and celebrations. I can only imagine next V day I will be knee deep in nappies and breast feeding baby!
As each year passes I seem to fill up my time with more stuff and have less time to make and create little treasures for the one I love. With work commitments, family and the everyday expectations and pressures of life it is important to take time with the one you love. To connect, dream and share your worlds. Valentine’s Day is just an extra bit of love and a reminder to take time and slow down together.
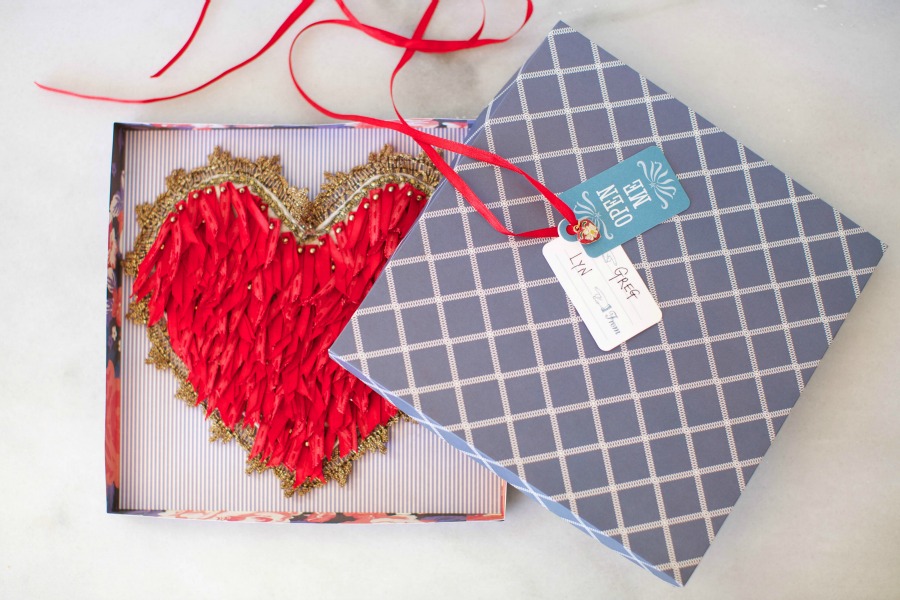
For our first V day I hand stitched my husband to be a heart – it was filled with little red ribbons symbolising the complexities, layers and beauty of a relationship.
Here are two diy paper projects to be made any day of the year!
GIFT BOX
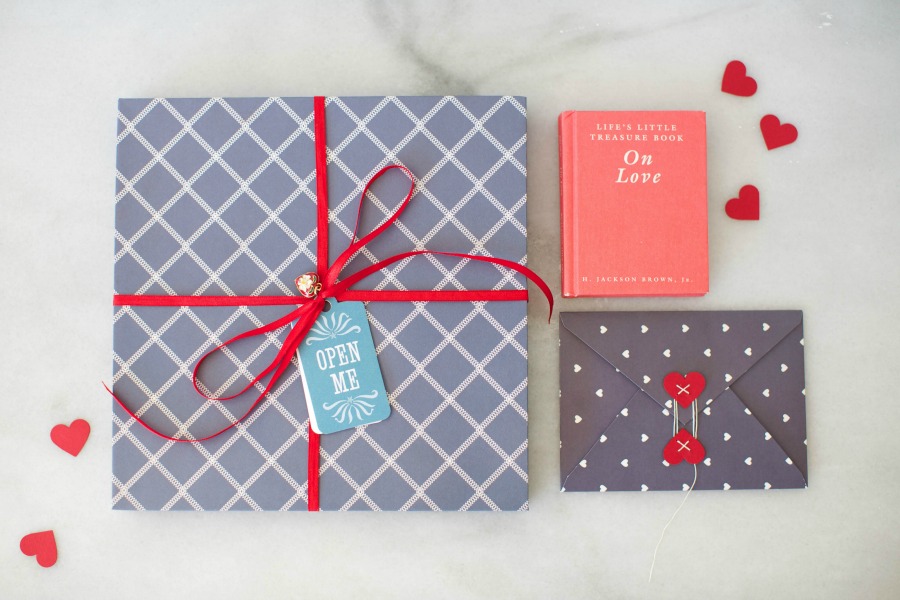
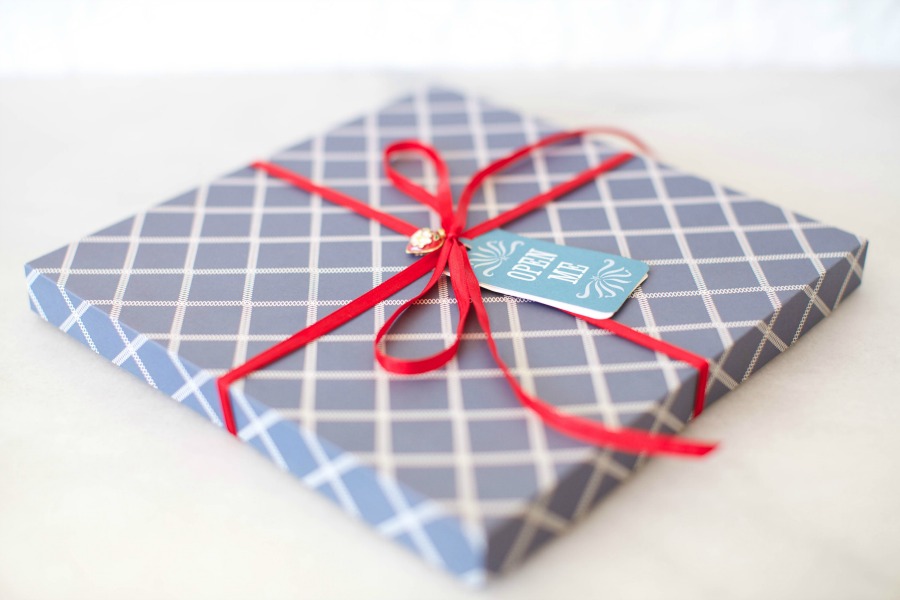
I have made thousands of handmade boxes for wedding favours, christenings and invitations with my business Rosebud Designs. I never tire of the beauty in a handmade box. Whatever fills the box will always pale in comparison to the precision and delicate details of the actual box. Presentation and packaging is what sells and makes that first impression count. I hope you enjoy crafting boxes as much as I do.
MATERIALS
assortment of card stock
craft glue
scissors
ribbon, gift tag and trinket
METHOD
Box Base
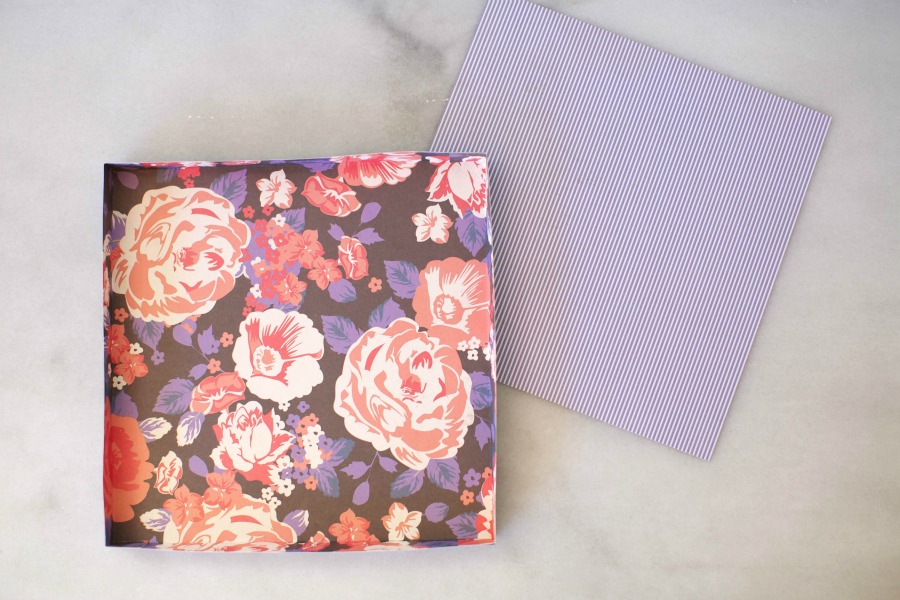
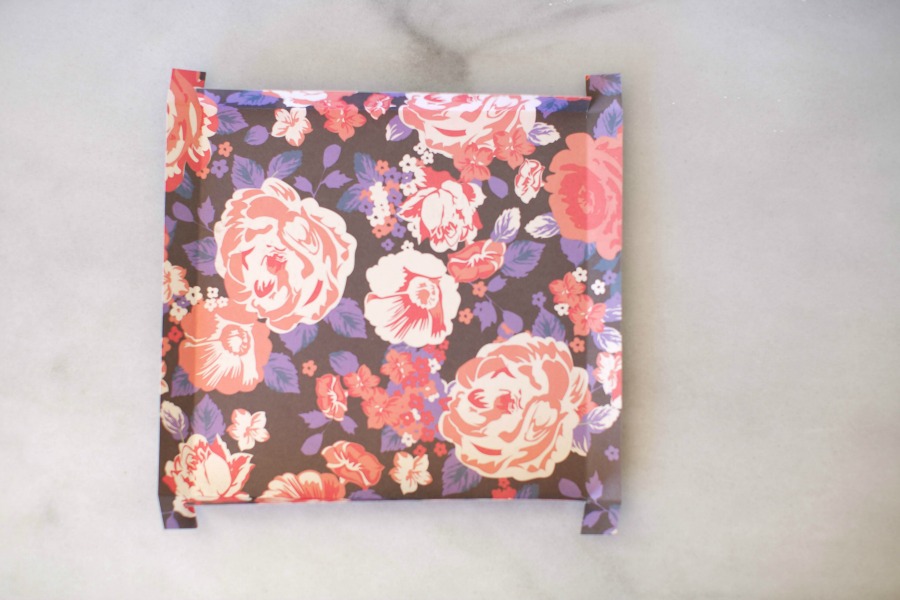
1. Cut a 25cm x 25cm square of card stock. Neatly fold each side 2cm from the edge of the paper with a nice even crease. Cut down the fold on each side of the box to form the sides of the box. Place glue on the corner squares and glue to the sides of the box.
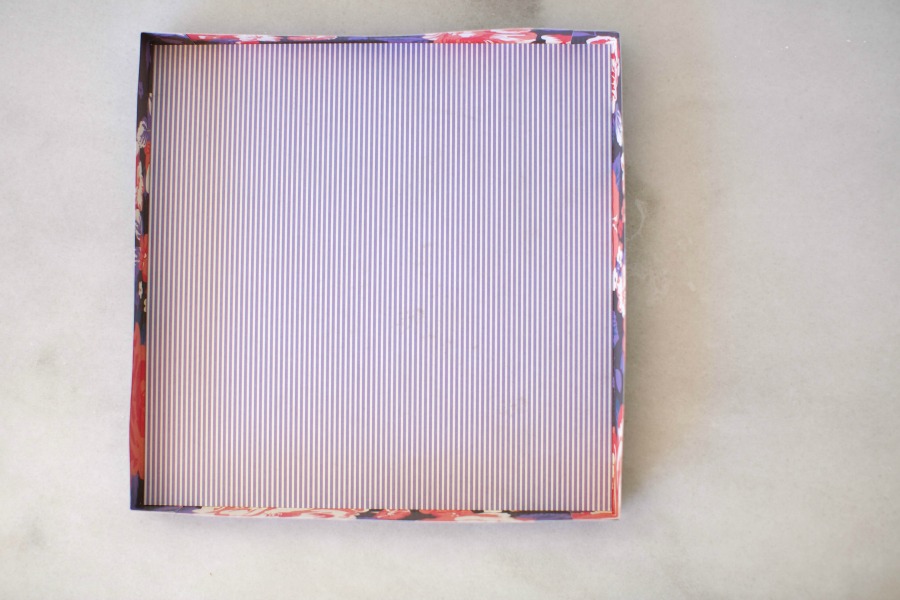
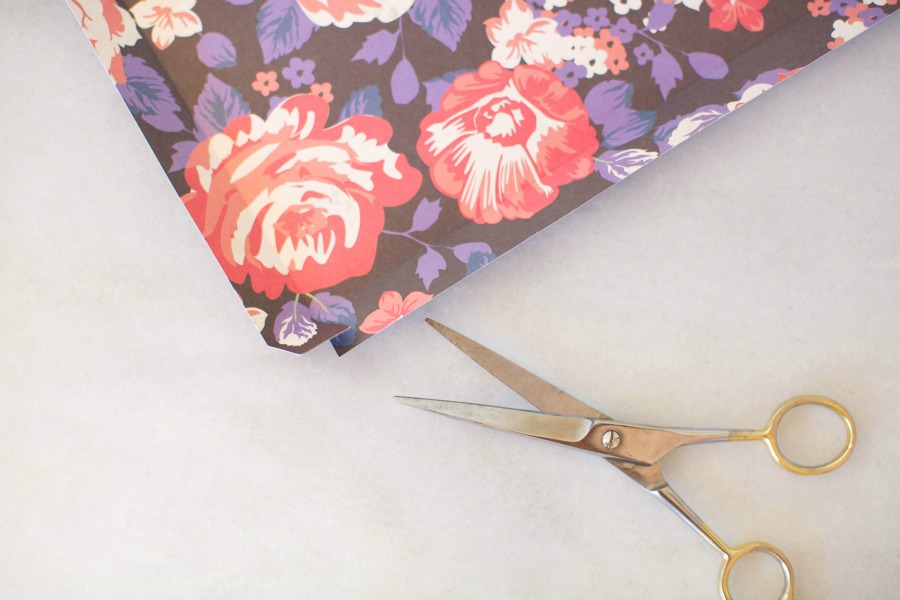 2. Cut a 20.8cm x 20.8cm square of card stock in a co-ordinating colour or pattern to line the base of the box. Secure with craft glue.
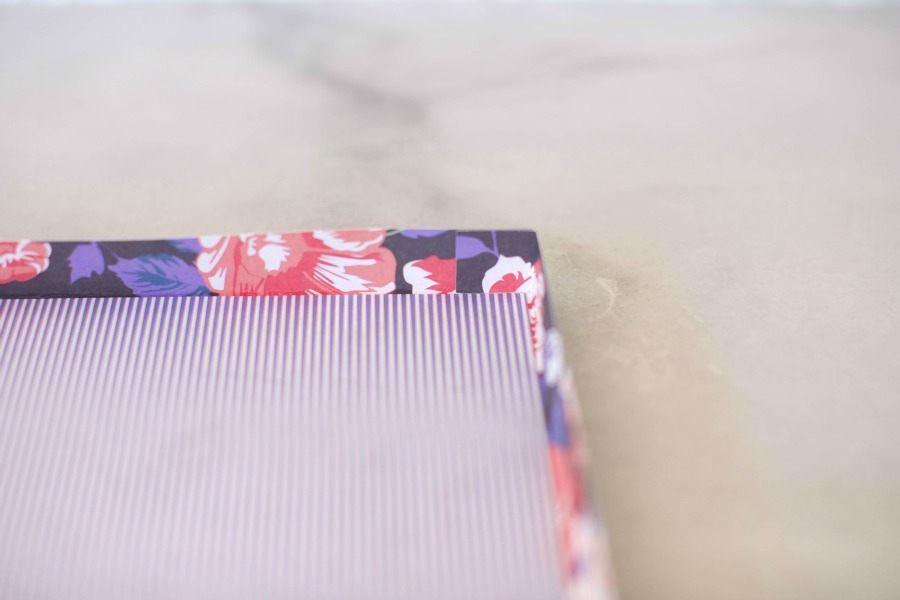
1. Cut 25cm x 25cm square of card stock. Neatly fold each side 1.9cm from the edge of the paper with a nice even crease. Cut down the fold on each side of the box to form the sides of the box. Place glue on the corner squares and glue to the sides of the box.
2. Cut a 21cm x 21cm square of card stock in a co-ordinating colour or pattern to line the lid of the box. Secure with craft glue.
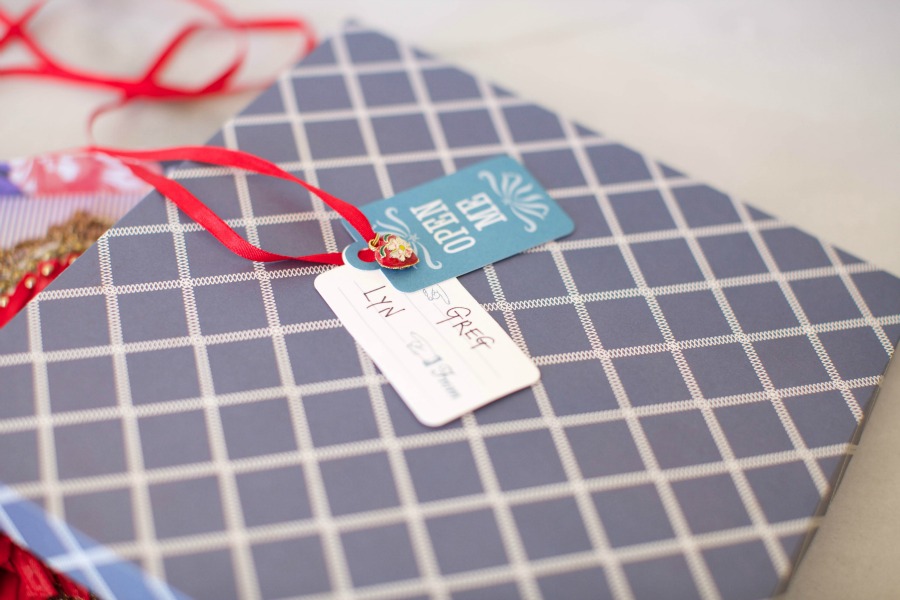
Depending on the size of your gift you can make this box in all shapes and depths. Place your gift in the box and finish with beautiful ribbon, gift tag and trinket. I like to use beads, haberdashery and vintage finds for my little trinket to add that extra special detail.
 HANDMADE ENVELOPE WITH HEART SEALS
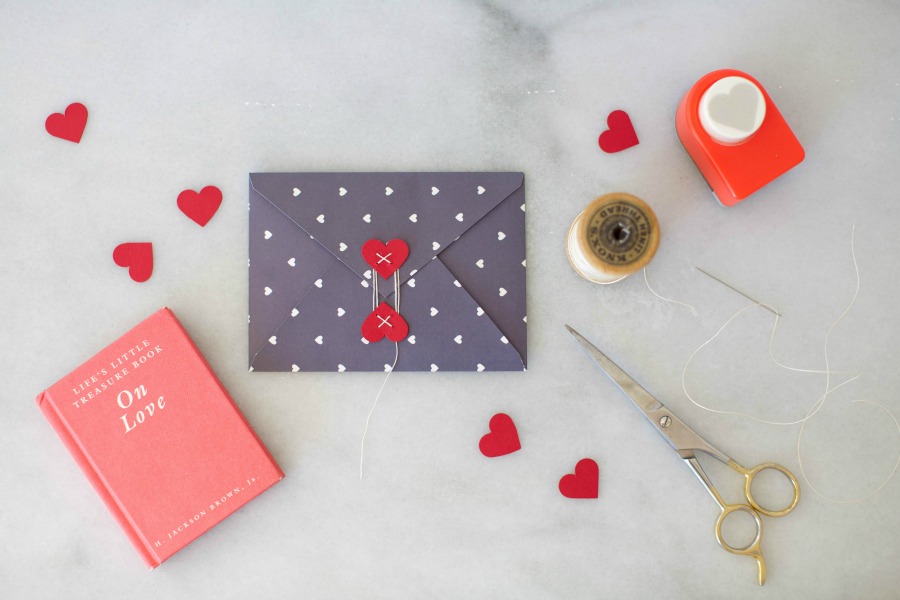
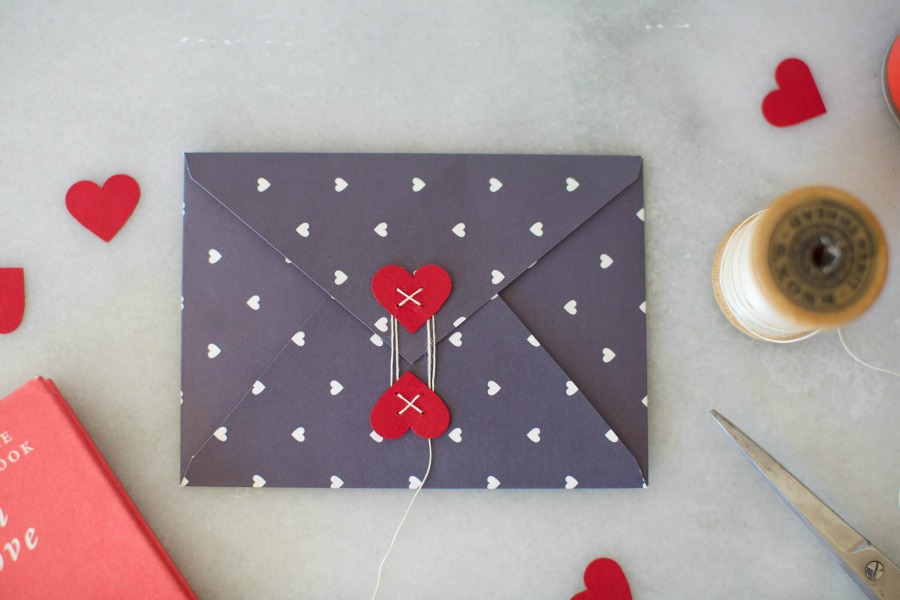
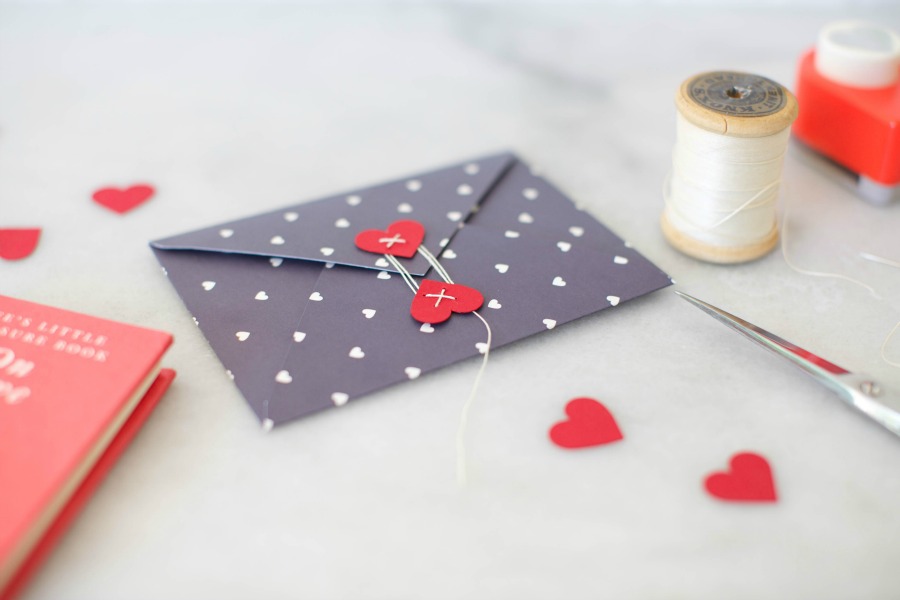
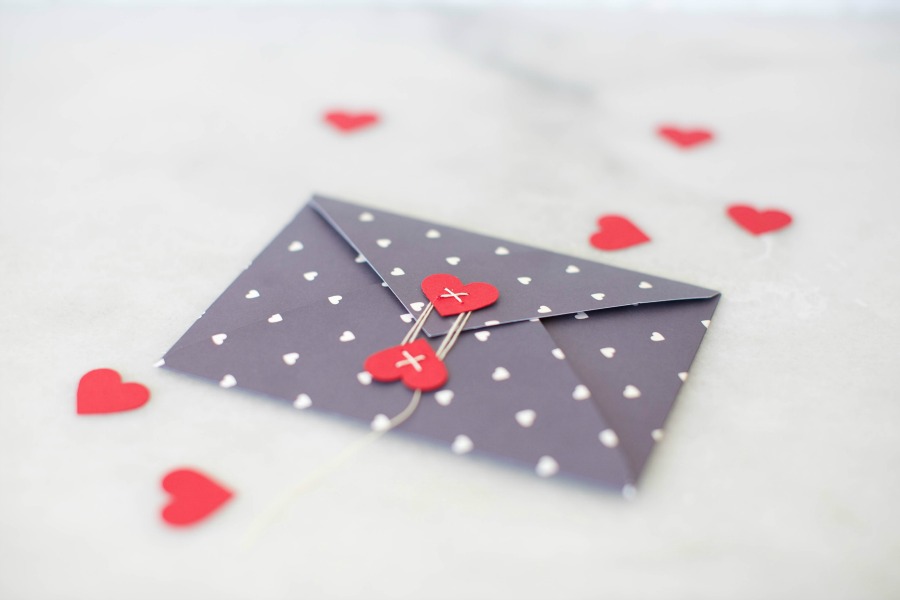
I have forever been a fan of master crafter Martha Stewart. Until recently I had every issue of MS Living magazine dating back 20 years! To be honest I rarely flick through them for inspiration since joining Pinterest and everything has gone digital. Space was also a factor in putting them in the recycling bin. It was a sad day but I am consoled by the fact that I still have not said goodbye to my MS Wedding magazines, another 20 odd years worth. Before parting with my beloved mags I had to have one last flick through and scan the beautiful pages for inspiration and hoping that my brain would archive the details on all the pages. Inspired by a Valentine’s issue of MS Living I have put my own spin on her handmade envelopes. They are quick and easy to make and you can have so much fun with different papers. I made a slight adjustment to Martha’s design and secured the paper hearts with a little cross stitch – sweet kisses on the back of your envelope.
assortment of paper or card stock
pencil
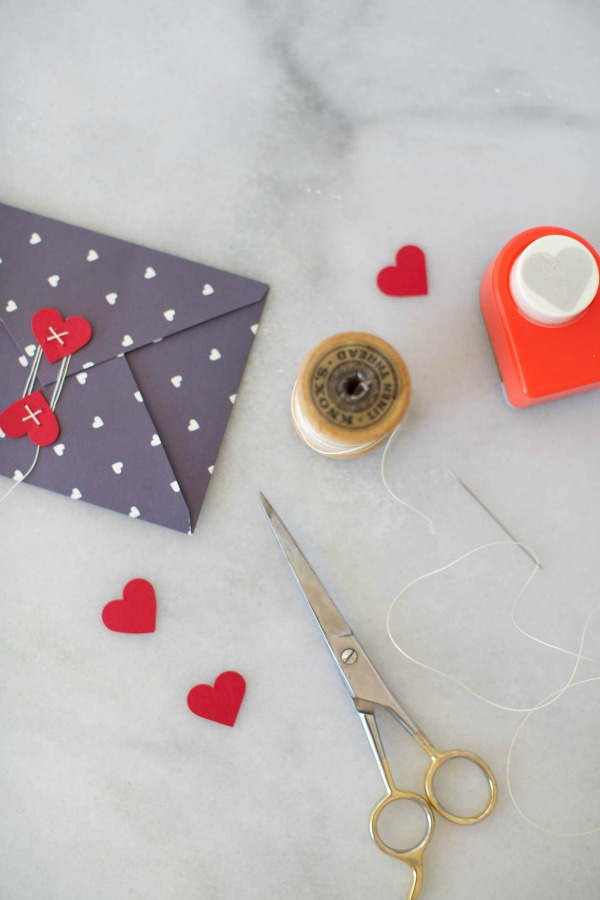
heart paper punch
glue stick
scissors
needle
thread or twine
envelope template
METHOD
1. Place your envelope template on your paper stock with the pencil trace around the template shape. Using scissors cut out the envelope.
2. Fold each side of your envelope to form the envelope.
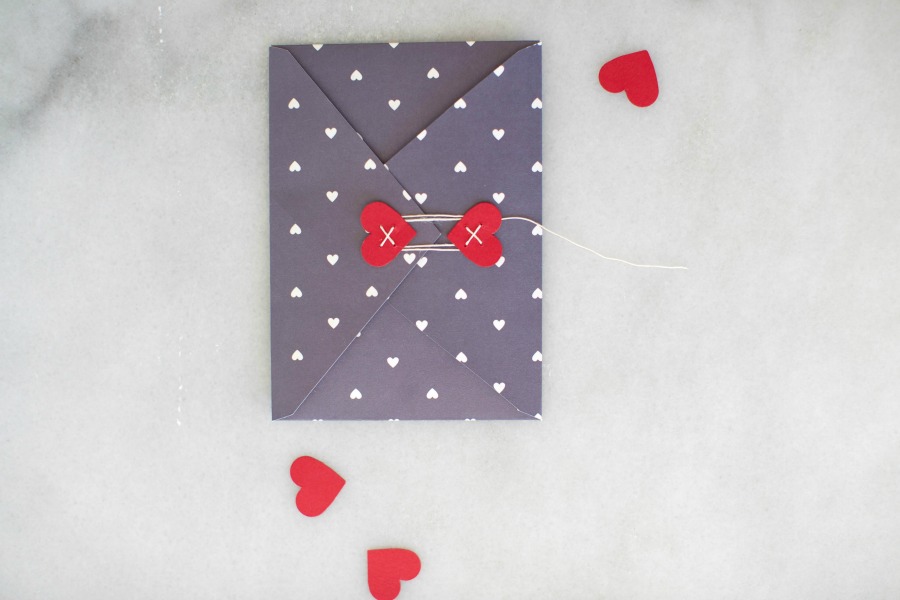
3. Using the paper punch cut out 2 hearts in co-ordinating card stock. Thread your needle and tie a double knot and secure the hearts as pictured with a cross stitch. On the top heart keep a 15cm length of thread to loop around the hearts and seal your envelope.
4. Glue the bottom half sides of the envelope.
Fill your special envelope with a love letter and sweet nothings to the object of your affection.
In all things beautiful,
Lyn xx
{Valentine’s DIY Papercraft} Gift Box + Envelope

